A streaming AI assistant - text appearing token by token as the model thinks - is now table stakes for any AI product. It's also the part most developers get subtly wrong: the response arrives in one blocking chunk, the layout jumps as messages grow, or the API key leaks into the browser. This guide walks through building one correctly in Next.js with the Vercel AI SDK and Claude, from the server route to the streaming UI, plus the details that separate a smooth assistant from a janky one.
What we're building
A chat assistant where the user types a message, it's sent to a server route that calls Claude, and the response streams back into the UI one token at a time. The model call stays server-side (so your API key is never exposed), and the client uses the AI SDK's useChat hook to manage the conversation and the stream. Three files: an API route, a client component, and an environment variable.
1. Install the AI SDK
You need the core AI SDK, the Anthropic provider, and the React bindings. This assumes a Next.js 15+ App Router project and AI SDK 5+.
npm install ai @ai-sdk/anthropic @ai-sdk/reactThen add your Anthropic API key to .env.local. This file is server-only and never shipped to the browser, which is exactly where a model key belongs.
# .env.local
ANTHROPIC_API_KEY=sk-ant-...
2. The API route (keeps your key server-side)
Create a route handler at app/api/chat/route.ts. This is where the actual model call happens. It receives the conversation, streams a Claude response, and returns it in the format the client hook understands. Because it's a route handler, it runs on the server and your key never touches the client bundle.
// app/api/chat/route.ts
import { anthropic } from '@ai-sdk/anthropic';
import { streamText, convertToModelMessages, type UIMessage } from 'ai';

// Allow streaming responses up to 30 seconds
export const maxDuration = 30;

export async function POST(req: Request) {
  const { messages }: { messages: UIMessage[] } = await req.json();

  const result = streamText({
    model: anthropic('claude-sonnet-4-6'),
    system: 'You are a concise, helpful product assistant.',
    messages: await convertToModelMessages(messages),
  });

  return result.toUIMessageStreamResponse();
}
Three things are doing the work here. streamText kicks off the model call and returns immediately with a stream rather than waiting for the full response. convertToModelMessages translates the UI message format (which carries rich parts) into what the model expects. And toUIMessageStreamResponse wraps the token stream in a Response the useChat hook can consume directly.
3. The client component
Related template
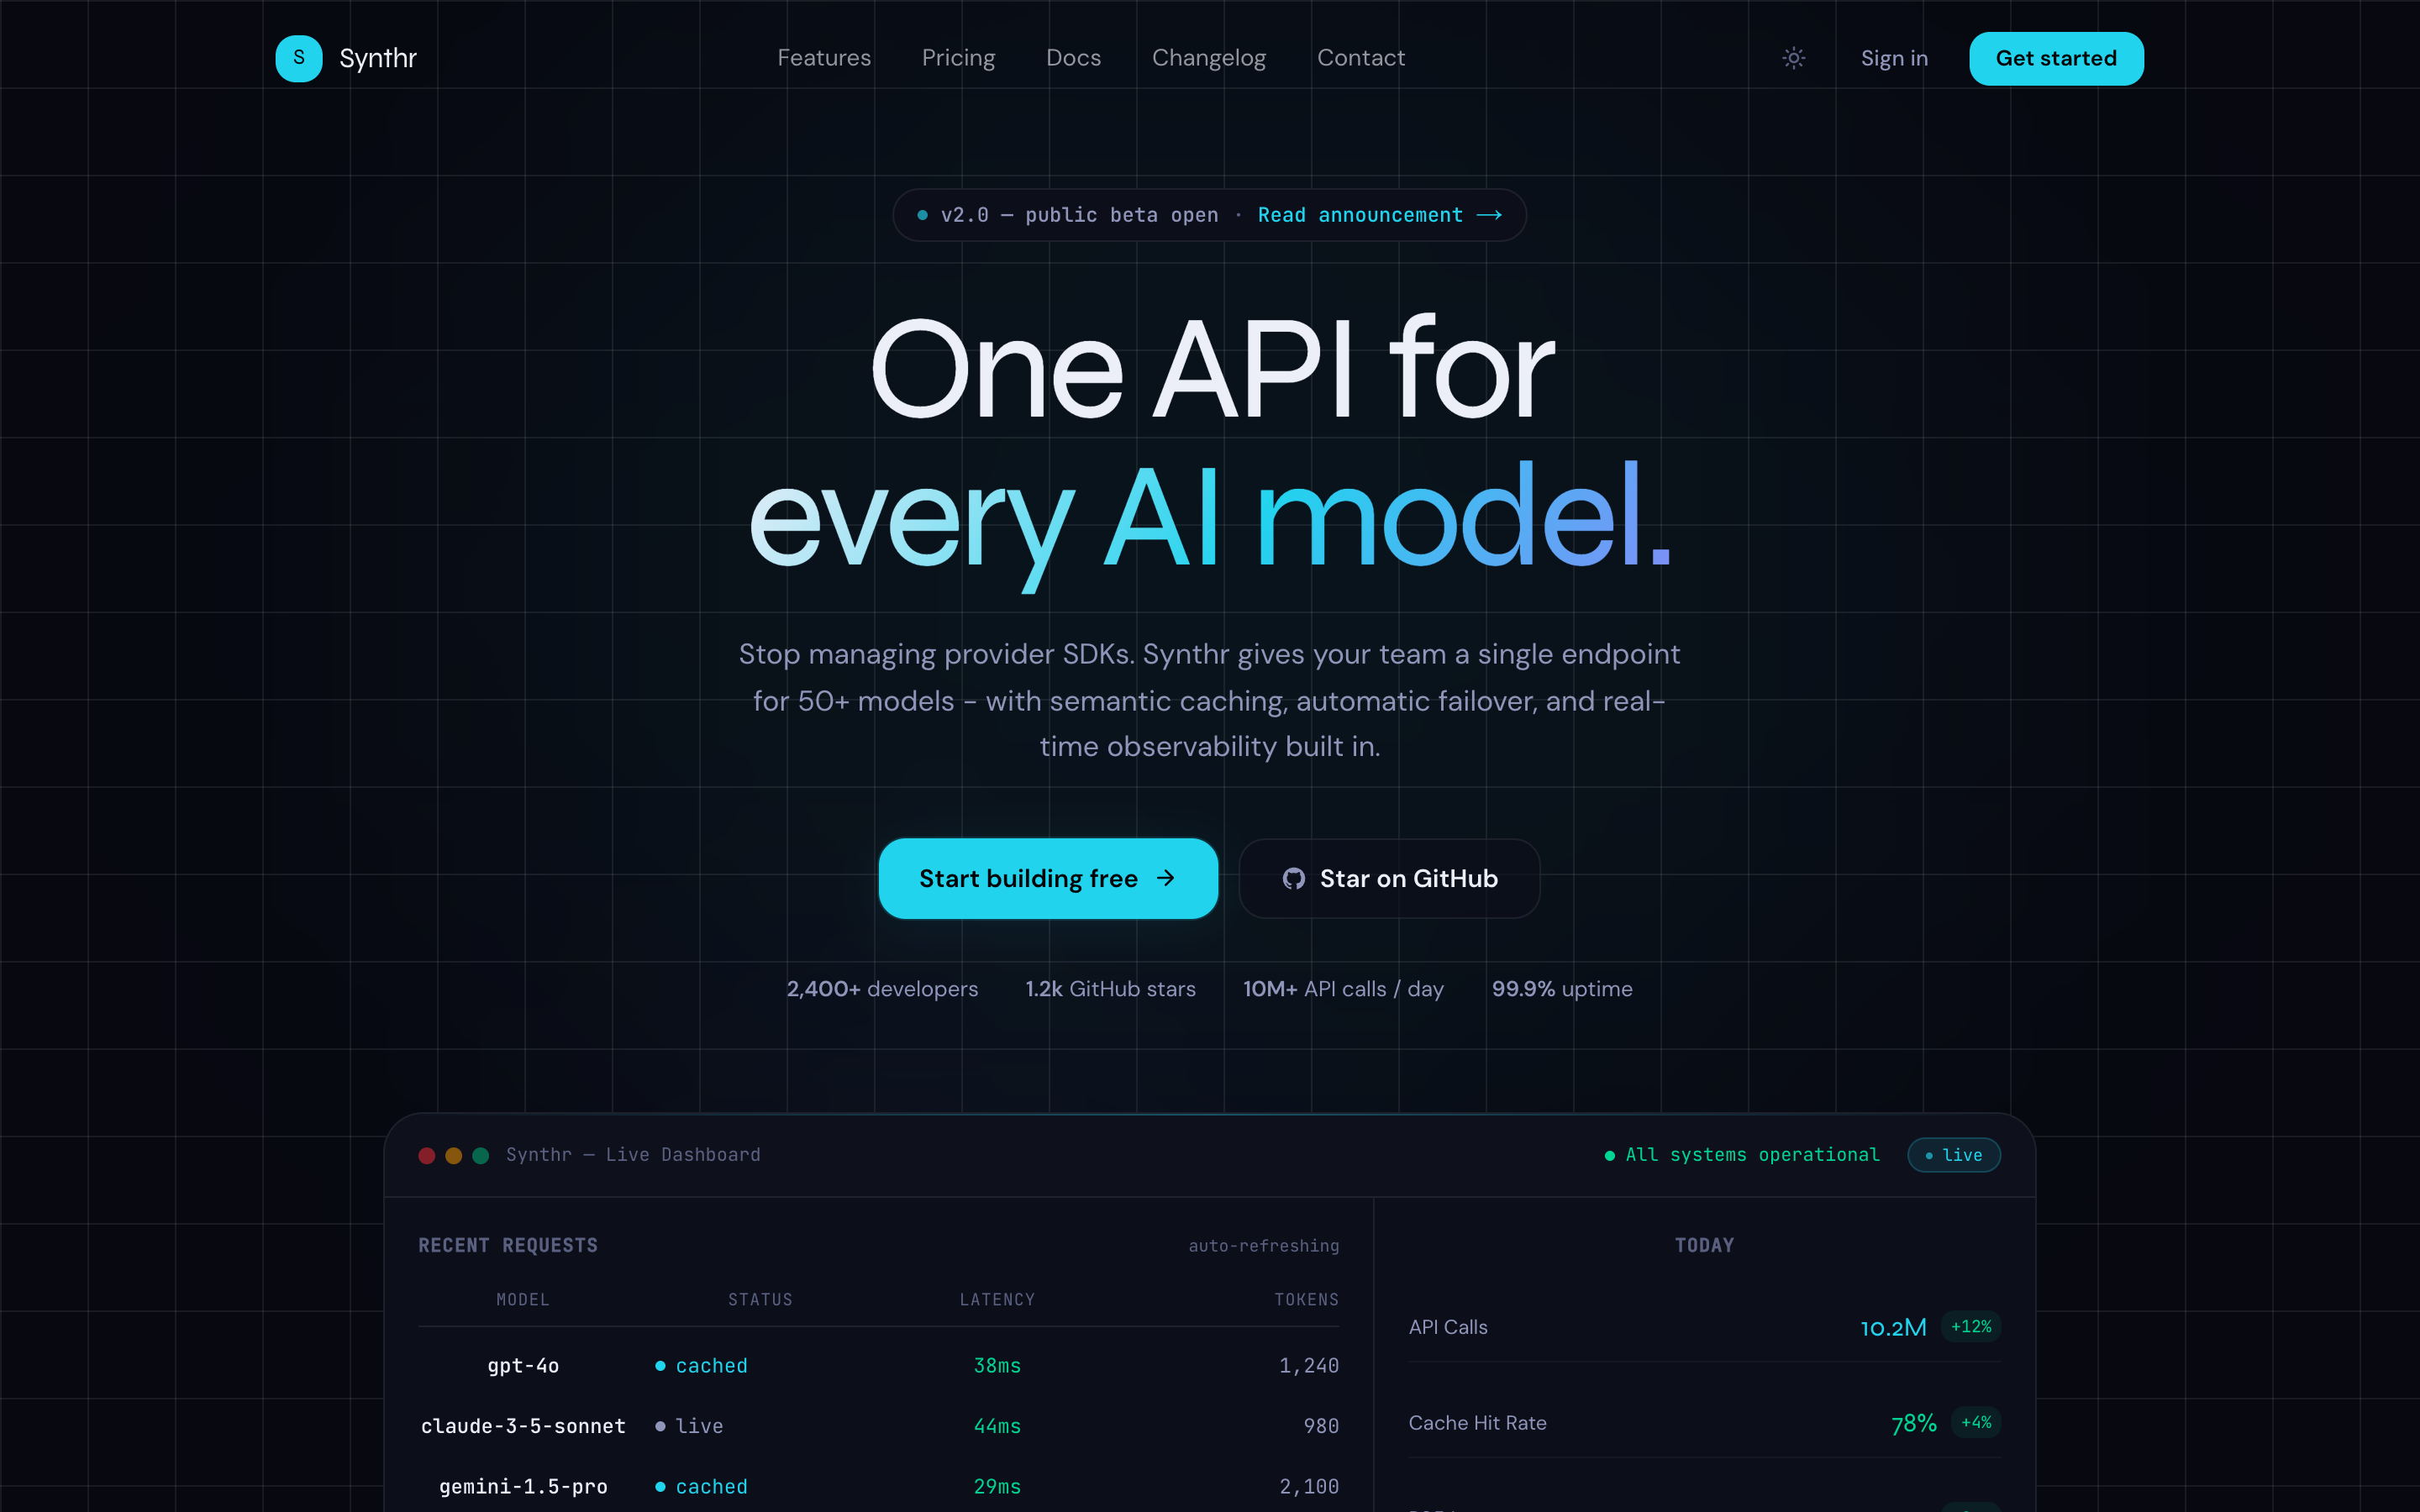
AI SaaS LandingA dark-first AI SaaS landing page with bento features, animated hero dashboard, pricing toggle, blog, changelog, docs, and auth pages.
Now the UI. The useChat hook from @ai-sdk/react manages the entire conversation: it holds the messages, sends new ones to your route, and appends streamed tokens to the assistant's message as they arrive. You render messages by mapping over their parts - in AI SDK 5, a message isn't a plain string but an array of typed parts (text, reasoning, tool calls), which is what lets you render streaming text and richer content uniformly.
// app/assistant/page.tsx
'use client';

import { useChat } from '@ai-sdk/react';
import { useState } from 'react';

export default function Assistant() {
  const [input, setInput] = useState('');
  const { messages, sendMessage, status } = useChat();

  return (
    <div className="flex h-screen flex-col mx-auto max-w-2xl p-4">
      <div className="flex-1 space-y-4 overflow-y-auto">
        {messages.map((message) => (
          <div
            key={message.id}
            className={message.role === 'user' ? 'text-right' : 'text-left'}
          >
            {message.parts.map((part, i) =>
              part.type === 'text' ? <span key={i}>{part.text}</span> : null,
            )}
          </div>
        ))}
      </div>

      <form
        onSubmit={(e) => {
          e.preventDefault();
          if (!input.trim()) return;
          sendMessage({ text: input });
          setInput('');
        }}
        className="mt-4 flex gap-2"
      >
        <input
          value={input}
          onChange={(e) => setInput(e.target.value)}
          placeholder="Ask anything..."
          className="flex-1 rounded border p-2"
        />
        <button
          type="submit"
          disabled={status !== 'ready'}
          className="rounded bg-black px-4 text-white disabled:opacity-50"
        >
          Send
        </button>
      </form>
    </div>
  );
}
That's a working streaming assistant. sendMessage posts the new message to /api/chat, the hook streams the response back, and each token re-renders the assistant's message so text appears as it's generated. The status field ('ready', 'submitted', 'streaming') lets you disable the input while a response is in flight.
4. The details that make it feel smooth
The code above works, but a few details separate an assistant that feels premium from one that feels like a demo. These are the things you notice only when the stream is live.
Auto-scroll to the newest token, without hijacking the page
As tokens stream in, you want the view pinned to the bottom - but scrolling the whole window is jarring and can yank the user away from what they're reading. Scroll the message container itself, not the page, and only when the user is already near the bottom.
Get the free template, plus new drops
DocsKit Free lands in your inbox right away. New templates after that.
import { useEffect, useRef } from 'react';

const scrollRef = useRef<HTMLDivElement>(null);

useEffect(() => {
  const el = scrollRef.current;
  if (!el) return;
  // Only follow the stream if the user hasn't scrolled up to read.
  const nearBottom =
    el.scrollHeight - el.scrollTop - el.clientHeight < 120;
  if (nearBottom) el.scrollTop = el.scrollHeight;
}, [messages]);
Reserve space to avoid layout shift
As the assistant message grows, everything below it moves. Give the message list a stable container with its own overflow (flex-1 overflow-y-auto, as above) so growth happens inside a fixed region instead of pushing the whole page around. This keeps your Cumulative Layout Shift near zero while text streams.
Disable the composer while streaming
Use the status field to disable the send button and optionally the input while a response streams. It prevents the user from firing overlapping requests and gives a clear signal that the assistant is working - a small thing that makes the whole interaction feel intentional.
Keep the model call in the route handler, never in a client component. If you import your Anthropic key into anything under 'use client', it gets bundled into the browser and exposed to anyone who opens devtools. The route handler is the boundary that keeps it safe.
Swapping models later
Because the provider lives in one line of the route handler, changing models is a one-line edit - swap anthropic('claude-sonnet-4-6') for another Claude model, or a different provider entirely, and the client never changes. This is the pattern worth internalizing: isolate the model behind a single seam, and the entire UI becomes provider-agnostic. It's exactly how a good starter kit is structured, so that going from a demo to production is a swap, not a rewrite.
This is the exact architecture Keel ships with - a streaming assistant, an Ask AI slide-over, and a Cmd+K bar all sharing one hook, backed by a keyless mock engine so it runs with no API key. Going live is the one-function swap described above. If you'd rather start from a finished, wired assistant than build the shell around it, Keel gives you that plus auth, onboarding, billing, and team management.
Keel - AI SaaS Starter Kit with a streaming assistant, Cmd+K bar, and full SaaS shell. Runs keyless, swaps to Claude via the Vercel AI SDK in one function. From $79, one-time.
See Keel